This tutorial will explain how to create an ubuntu bootable live USB disk in windows for your secondary os installation or planning to change the windows os to ubuntu os. This tutorial will explain step by step process of creating live ubuntu bootable USB disk in windows. Everyone can make a ubuntu bootable live USB disk with this tutorial, let’s begin the tutorial.
Prerequisites:
- Windows pc
- USB pen drive with min 8 gb size
- Rufus app
Step 1: Download the Ubuntu ISO file
To create a ubuntu bootable USB disk we need to download the ubuntu os ISO file from the official website.
Step 2: Download Rufus Software
After downloading the ubuntu iso file now download the Rufus software for Windows. Rufus is most using and recommends software to create a ubuntu bootable USB disk.

Step 3: Create ubuntu bootable live USB
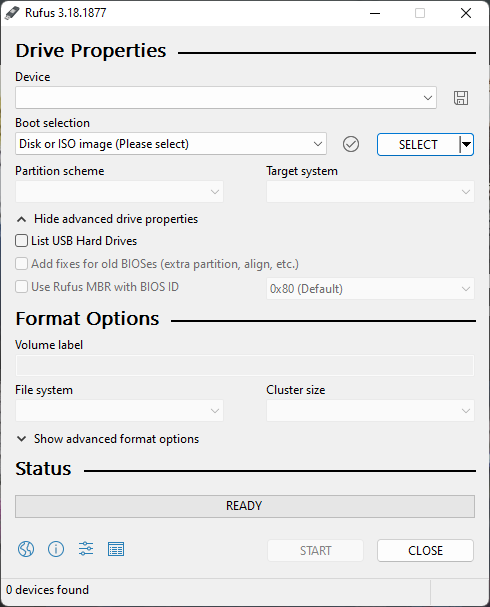
i. Now take your USB pen drive and insert it into your Windows pc. After inserting your USB pen drive now open Rufus software.
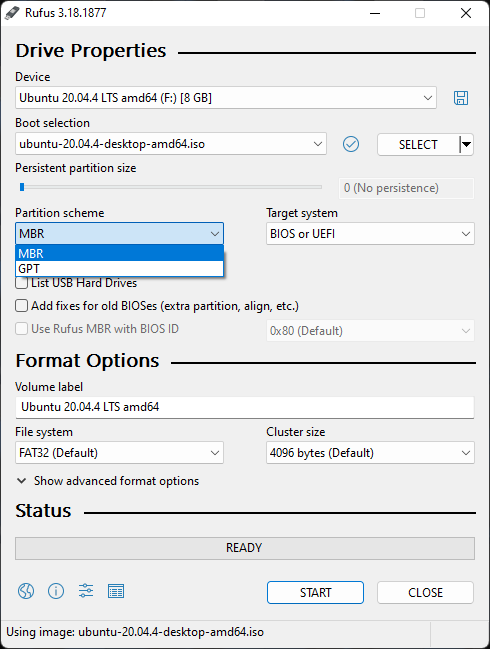
ii. Now select your USB pen drive

iii. After selecting your USB pen drive now select the downloaded ubuntu iso file.

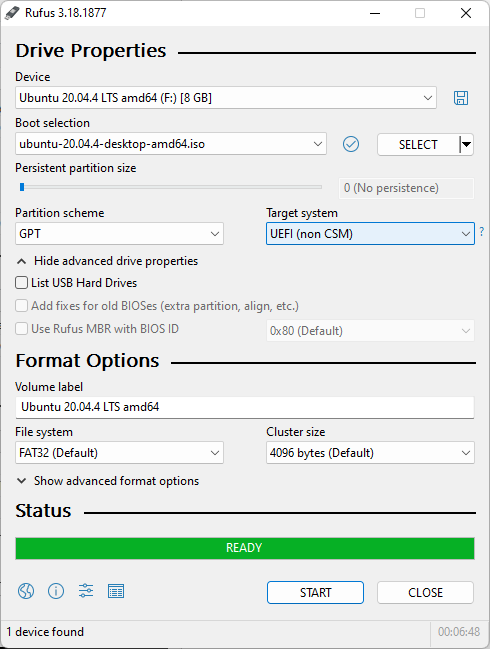
iv. Select your partition scheme
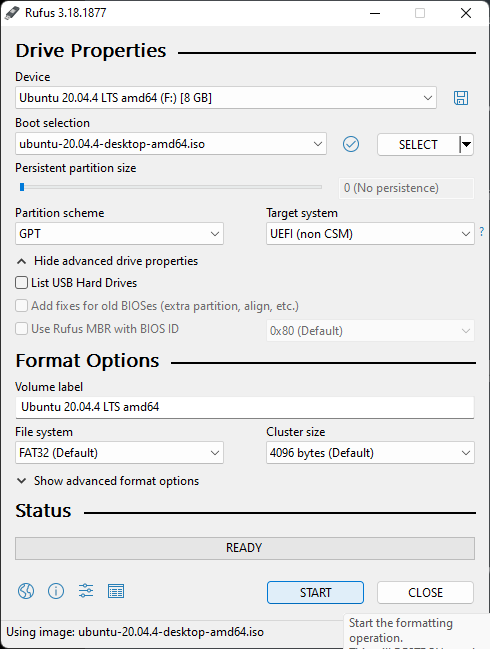
v. now click start
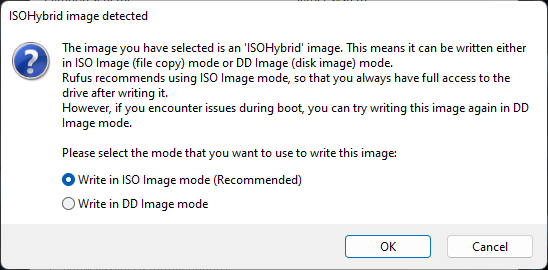
vi. Now we have to select the iso mode
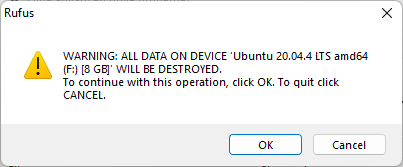
vii. Format the usb pen drive to create a installation media
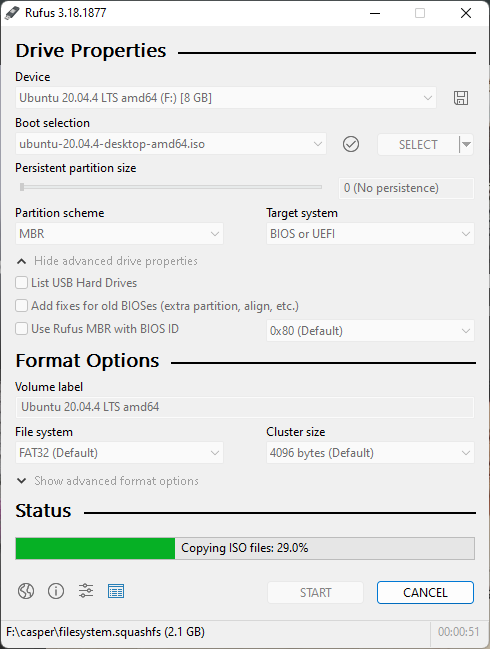
viii. Rufus started the writing process to usb disk wait for sometime to complete this process.
ix. That’s all we have successfully created the ubuntu live usb disk, now you can install ubuntu on your pc with your ubuntu live usb disk.
conclusion:
Now We have learned how to create a ubuntu live usb disk in windows. Hope this tutorial helps.
Next Article: How to install Ubuntu on Windows 11 WSL