
Windows Subsystem for Linux is an exciting feature to run any Linux distros on your Windows pc. You want to use and explore Linux, you don’t need to install Linux as a second operating system, with Windows Subsystem for Linux(WSL) feature is easily installable, you don’t have to run any virtualization player or dual boot method. We can run any Linux distros like Ubuntu, Kali, Debian, CentOS, and more with Windows subsystem for Linux on Windows 11.
In this tutorial, we are going to explain how to install Ubuntu on Windows 11 with the Windows Subsystem for Linux. In this tutorial, we will choose Ubuntu for installation.
How to enable WSL on Windows 11:
Before installing the Ubuntu distro, you have to enable the Windows Subsystem for Linux (WSL) on your Windows 11 pc.
To enable Windows Subsystem for Linux (WSL) on your Windows 11 pc, follow the steps below:
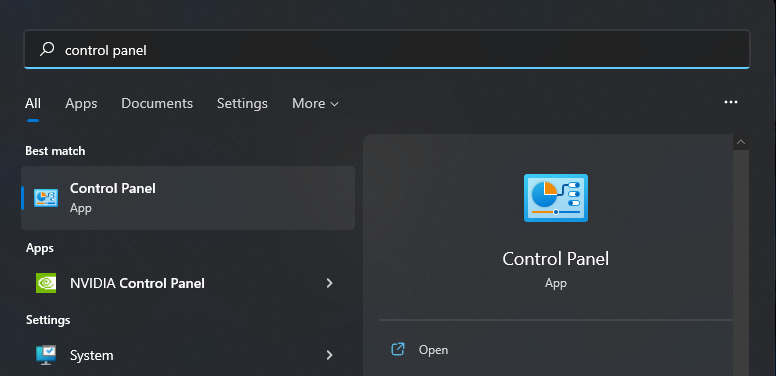
Go and click the search icon in the near start menu
Then type and search the control panel
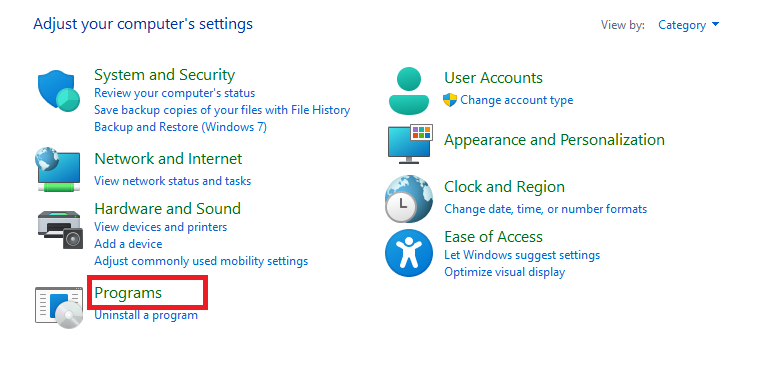
Click programs
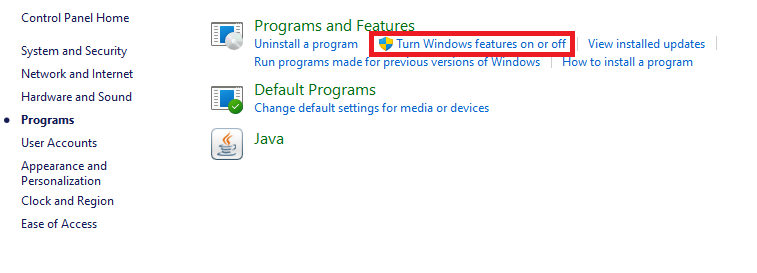
Then click Turn Windows features on or off under programs and features
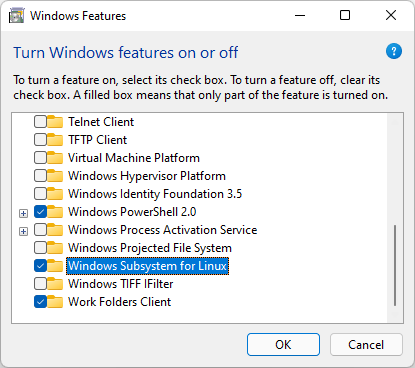
Now you will see the Windows features popup window
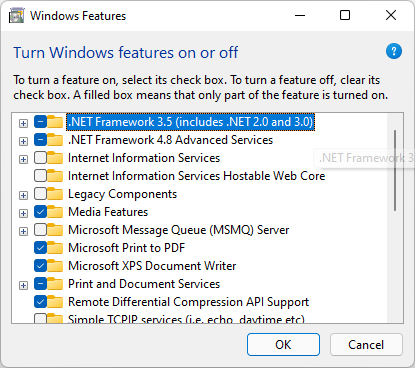
Scroll Down to the Windows Subsystem for Linux (WSL) feature and click on the checkbox and click ok
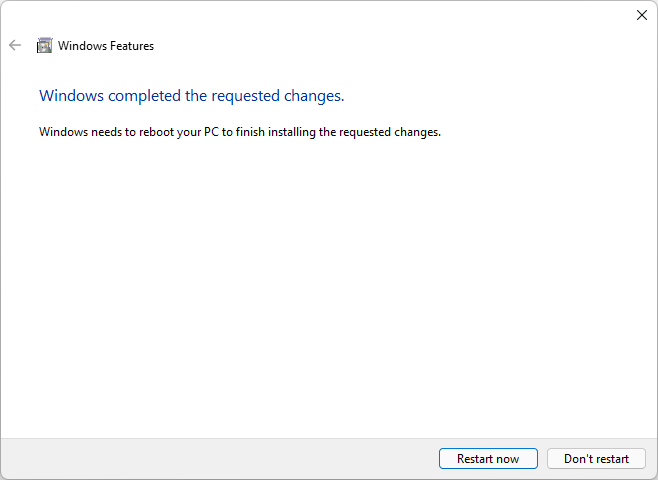
After finishing the process, you will be prompted to restart your Windows 11 pc.
Download and Install Linux Kernel Update Package:
After enabling WSL, next download and install the WSL 2 Linux kernel update package
Enable Virtualization:
To run a Windows Subsystem for Linux in Windows 11 we need to enable the virtualization feature. To enable the virtualization feature on your Windows 11 pc, open PowerShell as an administrator and run the command below.
dism.exe /online /enable-feature /featurename:VirtualMachinePlatform /all /norestart
Set WSL 2 as a default version:
If you are installing the latest Linux distros, set the Windows subsystem for Linux 2 as a default version. To set the WSL 2 as a default version, open the PowerShell as administrator and run the command below.
wsl --set-default-version 2
Now let’s begin the Ubuntu installation on your Windows 11.
Install Ubuntu with Windows Subsystem for Linux (WSL):
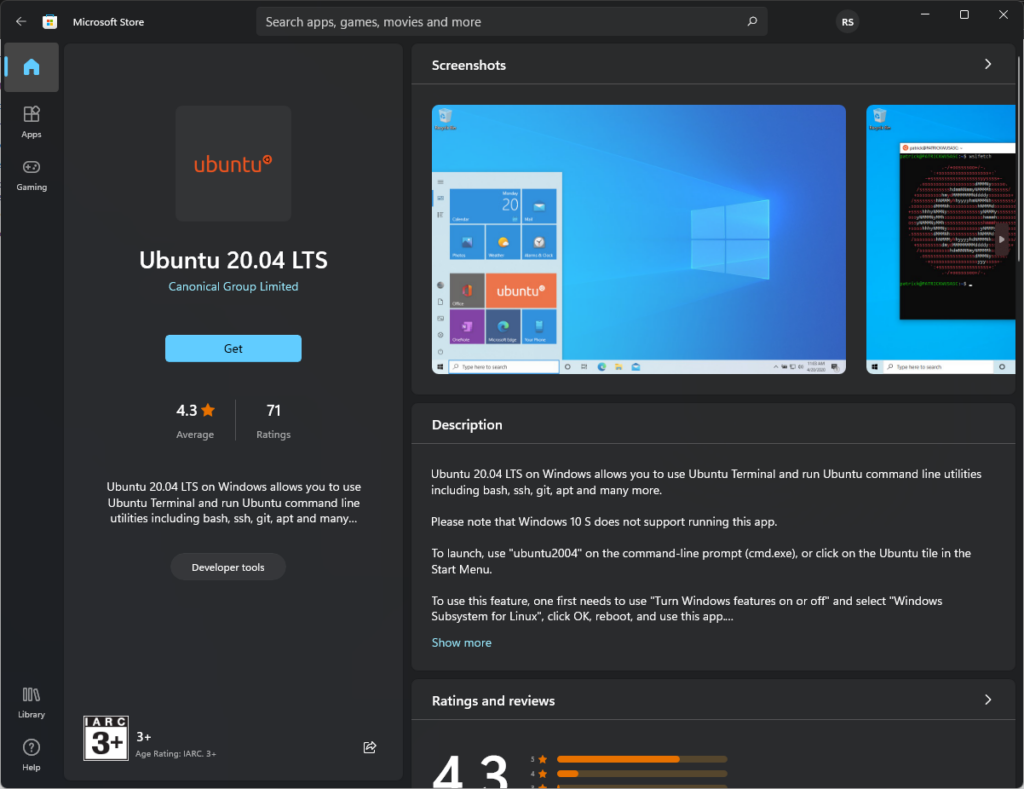
After enabling the Windows Subsystem for Linux (WSL) on your Windows 11 pc go to the Windows Microsoft Store and search Ubuntu with versions, we will choose Ubuntu 20.04 for installation.

Now you will see the Ubuntu app, now click the get button to install Ubuntu 20.04 WSL on your Windows 11 pc.
After the completion of the installation process now click open to run the Ubuntu on your Windows 11 pc.

Now you will see the Ubuntu terminal.

That’s all, you have successfully installed Ubuntu distro on your Windows 11 pc with Windows Subsystem for Linux (WSL).
Conclusion:
In this tutorial, we have learned how to install Ubuntu with Windows subsystem for Linux. Hope this helps you to run any Linux distros on your Windows 11 pc.