
Introduction
Tawk.to is the one of the best live chat platform for websites and mobile applications. We can track, monitor our website visitors and provide better customer support with tawk.to platform. It has both free and paid plans.
In this tutorial we are going to see how to sign up and install tawk.to widget on your website.
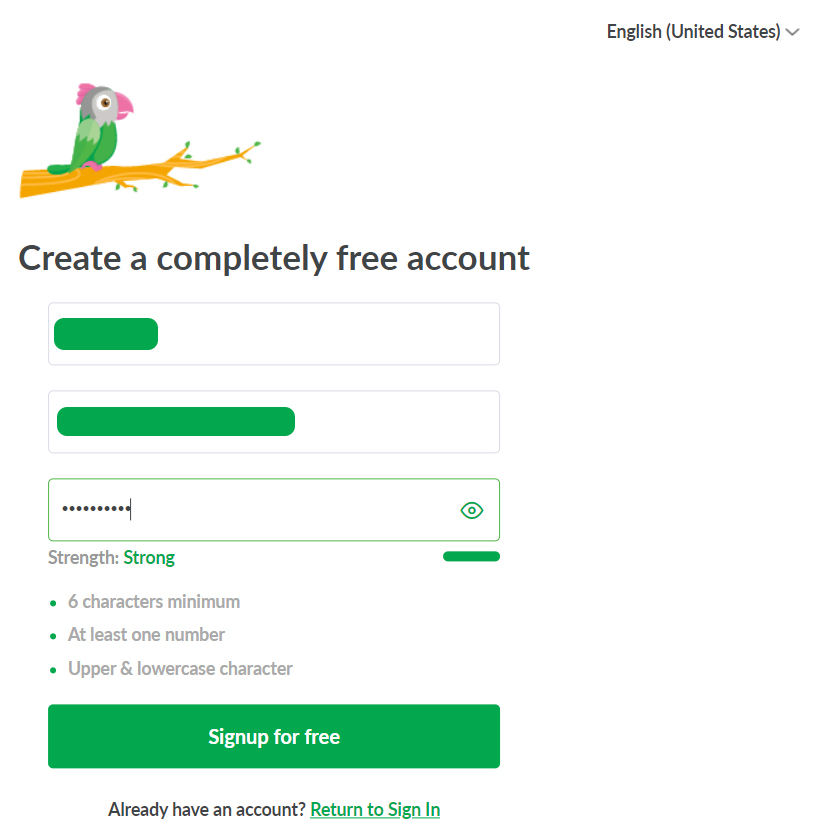
Sign up:
Sign up tawk.to with your email. If you don’t have a email id create one. You can use any emails like Gmail, Zoho, etc.
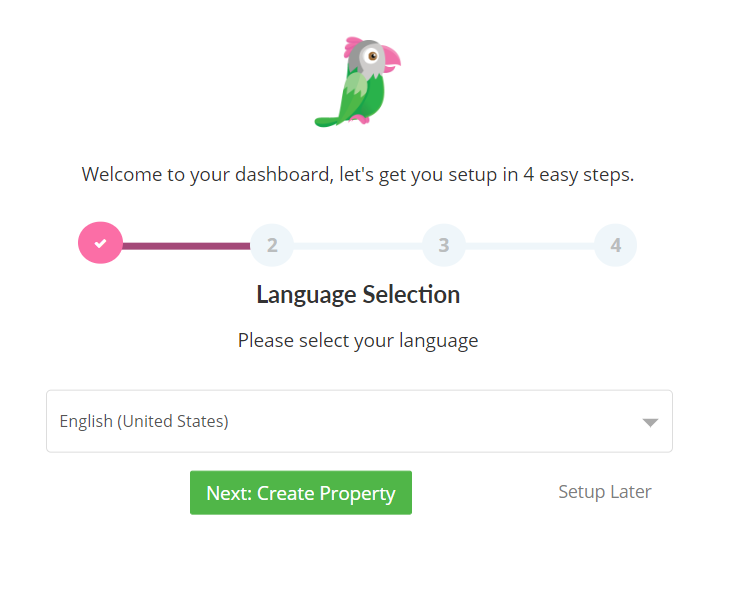
After signing up tawk.to create property and fill your property details like site name and website URL..
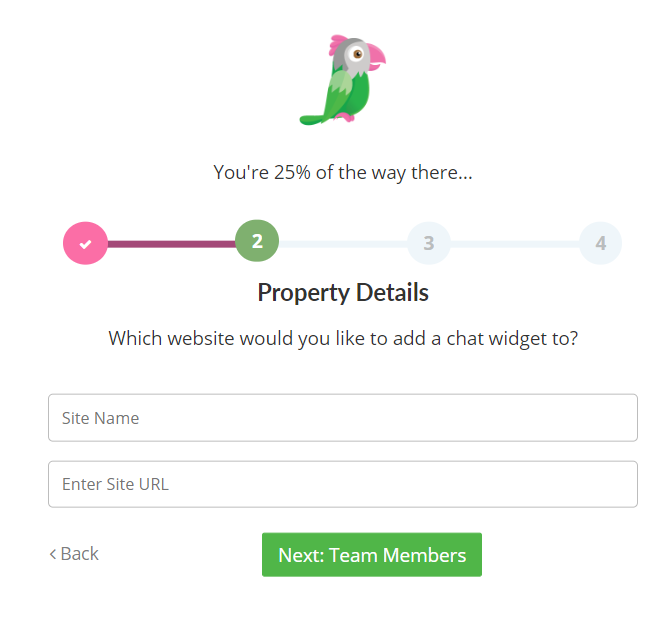
After that add teams your property and their roles if you want or else skip this step next you are prompted to install your website.
Here you can see the tawk.to widget code
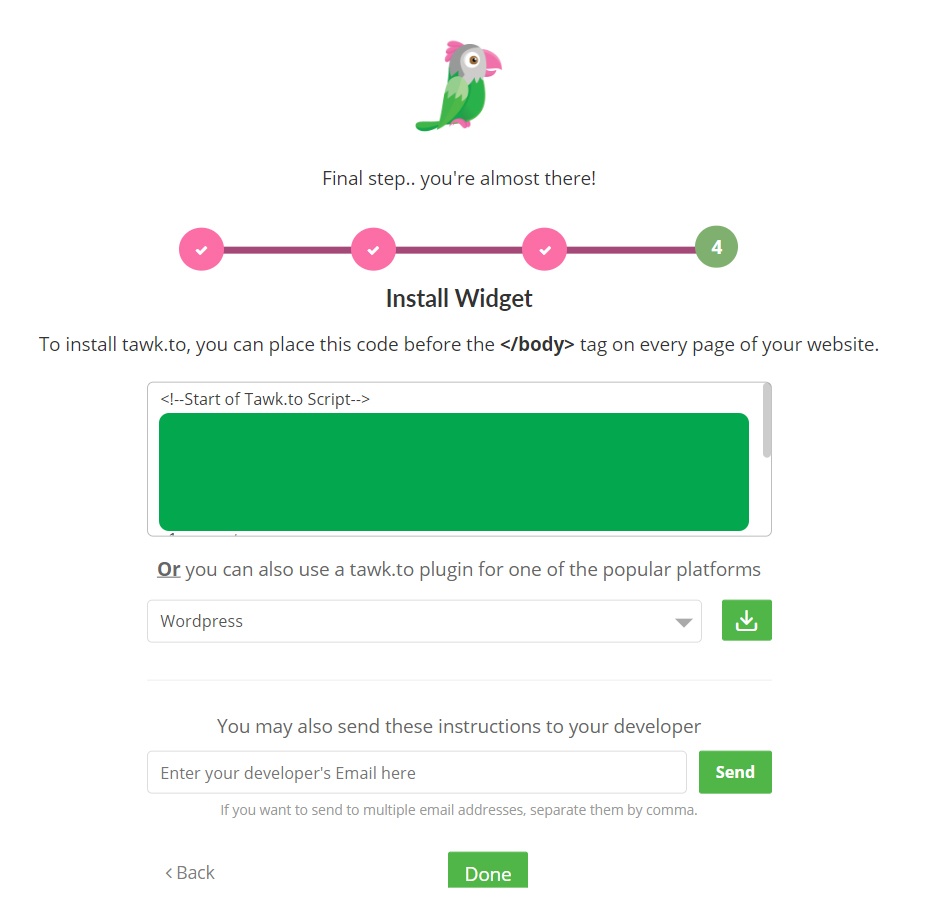
There are various installation methods available to install tawk.to widget. We can see the steps now.
Install tawk.to widget on custom website:
To install the tawk.to widget on your custom website copy the tawk.to code paste into the <body> section on your website and click done.
<head>
.................
.................
</head>
Install tawk.to on Google tag manager:
If you want to install tawk.to chat widget with Google Tag Manager you have to create Google Tag Manager account and publish your tawk.to chat widget tag. If you have already installed Google Tag Manager on your website then install tawk.to widget with Google Tag Manager as the steps given below.
- Go to Google Tag Manager dashboard
- Add new tag and rename it whatever you want
- Click anywhere on the tag configuration tab
- Select custom HTML and paste your tawk.to code
- Click anywhere on triggering tab and select all pages.
- Save and publish your tawk.to tag
For reference how to add and publish tags on Google Tag Manager
Install tawk.to widget on WordPress:
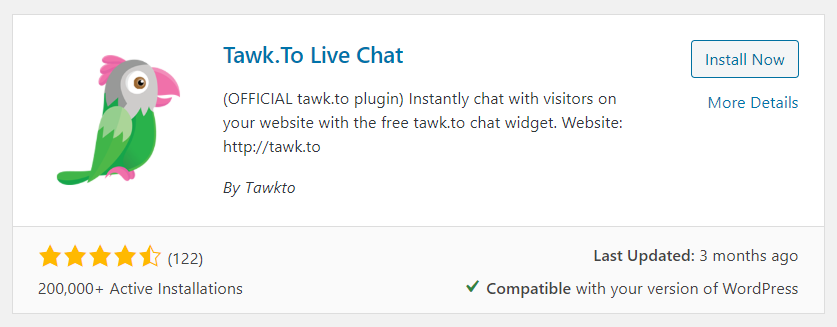
For WordPress we have a tawk.to plugin we can install it through plugin.
- Go to plugins>add new
- Search tawk select and install
- Login your tawk.to
- select property and save
If you don’t want to install with plugin there is another plugin called Insert Headers and Footers you can install your tawk.to widget on your website with that plugin.
Refer this article to add external codes on your website with Insert Headers and Footer plugin.
Conclusion:
That’s all you have successfully installed tawk.to widget on your website. In this article we have learned how to install tawk.to live chat widget on custom website, WordPress and Google Tag Manager.