
Google Search Console is a web tool to communicate with webmasters and determine the website performances on Google Web. Google search Console is also reoffered as Google Webmasters. Google Search Console is a completely free tool. We can track our website ranking, indexing, performances, mobile usability, errors and more with Google search Console. We can also track Structured data of website like video schema markup, review snippets, product schema markup and more.
Google Search Console Sign Up:
For signing up Google search Console we need a Gmail account if you don’t have Gmail create one for using google products. After creating Gmail account or you already have one start the steps below.
- GOTO Google Search Console and click Start now
- Login your Gmail Account
Now you will see the welcome page its ask you for property selection.
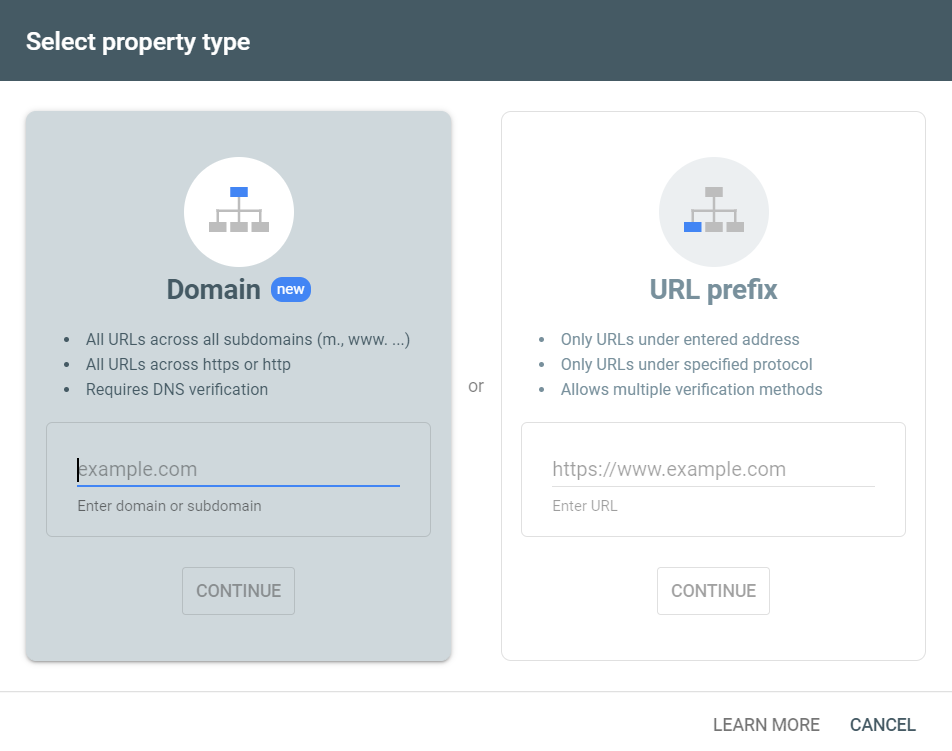
There are two type of property methods:
- Domain
- URL prefix
Domain: We can track all of our links subdomains, paths and more under our domain name. If you want track complete data of your website select domain property and add your website to Google search Console. It has only DNS verification method
URL Prefix: If you want to track a specific URL with specific protocol then choose the URL prefix and add your website to Google Search Console.
Note: We can add and track our website with both Domain property and URL Prefix property.
Setup and Verify Google Search Console:
Now select the property type and add your website to Google search Console. Let’s see setup and verification methods of both domain property and URL Prefix property.
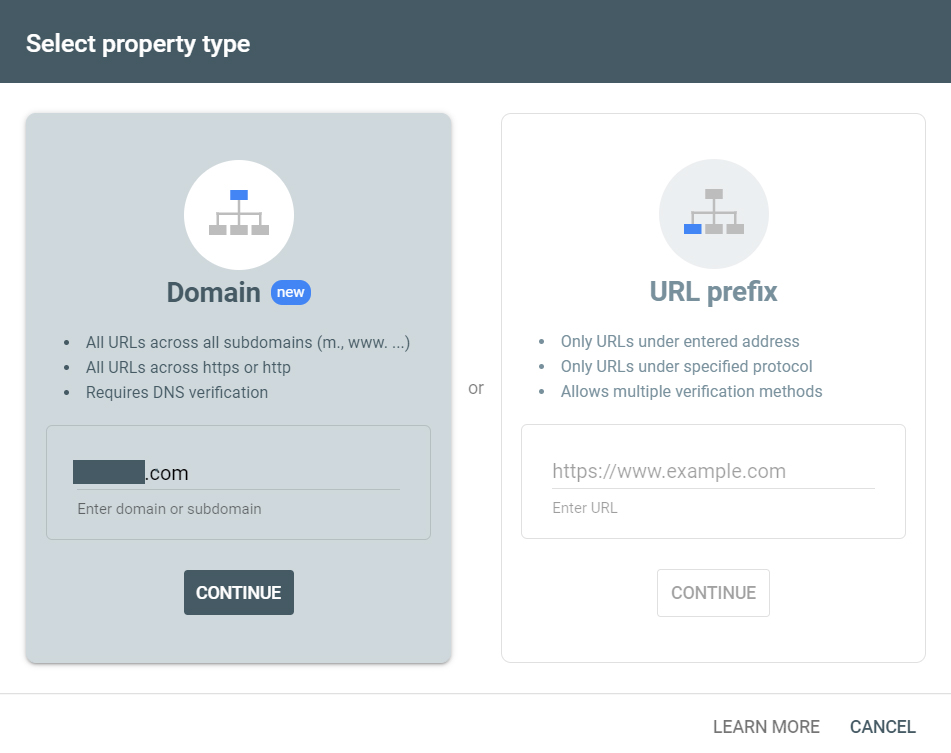
Domain property setup:
In the property selection pop-up select the domain property and type your website name without http or https protocol and click continue.
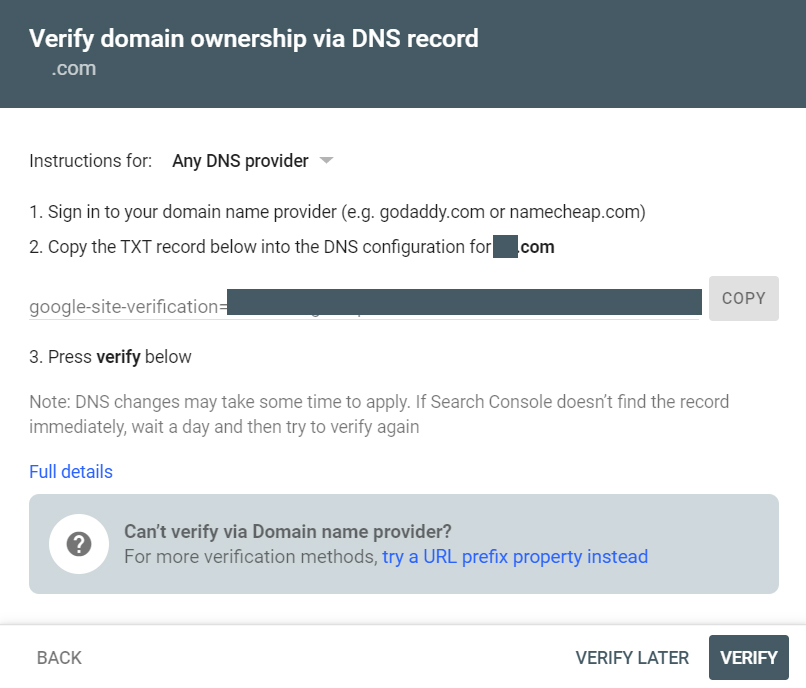
Domain Property Verification:
After adding domain property you will be prompted to the verification method but domain property having DNS verification method alone. Login to your domain provider go to DNS management section then copy and add the TXT record to your domain.
.
After adding TXT Record wait for some time it takes to reflect based on domain providers and click verify now you will see the pop-up called Ownership verified. If you get any errors check the TXT record or wait some more time and verify.
URL Prefix Property:
This time select the URL prefix property and type your URL with http, https or http://www, https://www protocol and click continue.
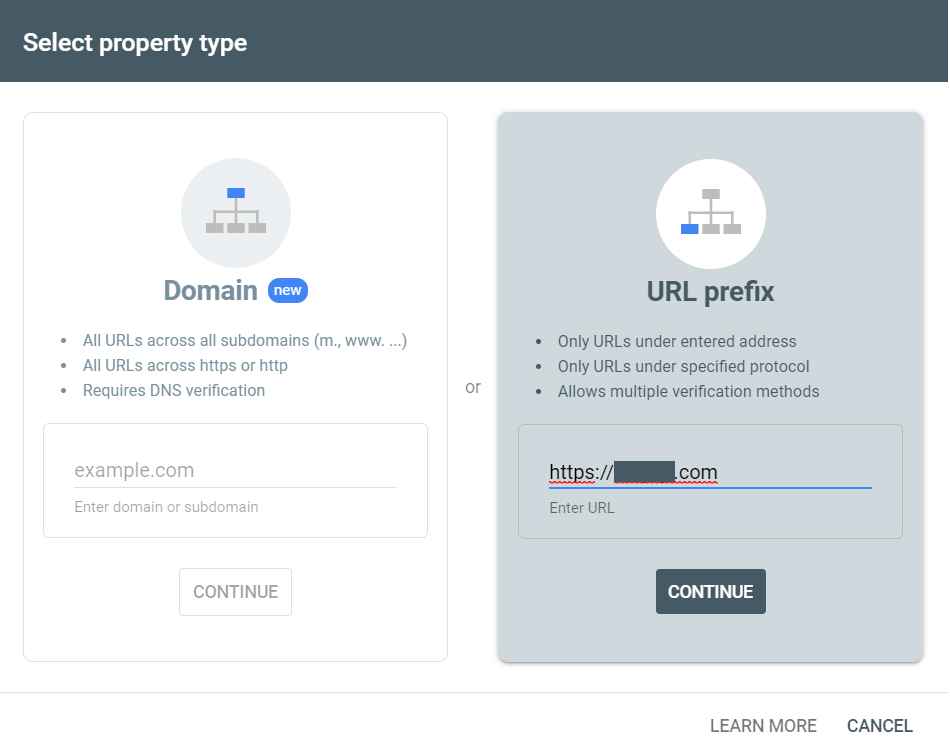
After adding the URL of your website it navigates to verification.
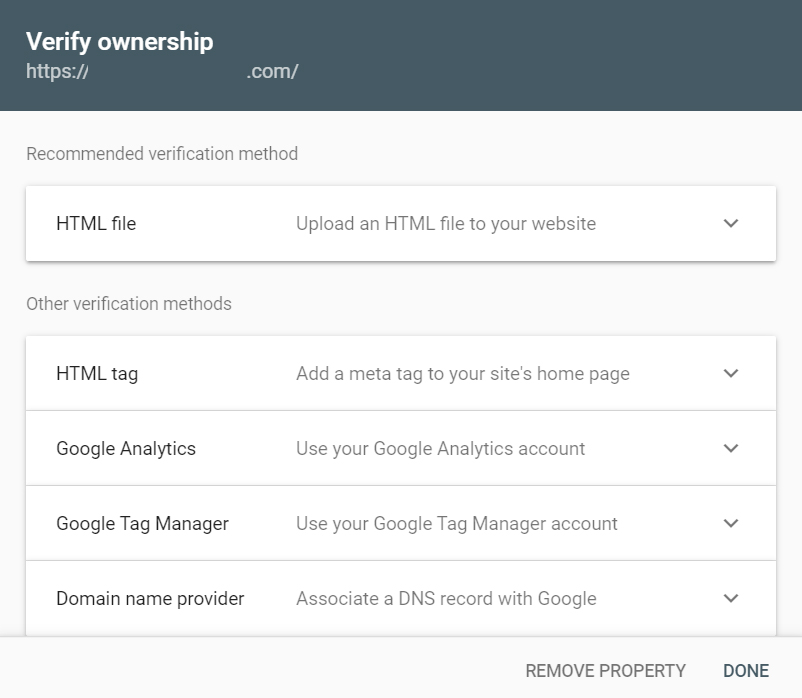
URL Prefix Verification:
In the URL prefix property verification there are several verification methods are available like html file, html tag, Google Analytics, Google Tag Manager or Domain name provider.
HTML file:
To verify the website property download the HTML file and upload it your website root folder.
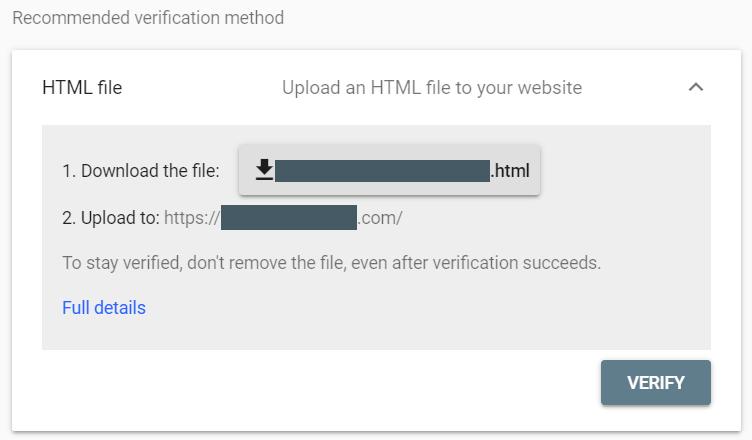
After uploading html file to your website root folder then click verify.
Note: HTML file verification method is the Google recommended method to verify property ownership.
HTML tag:
To verify with html tag you have copy the meta tag in the image below then add that meta tag to your websites <head> section or <body> section.
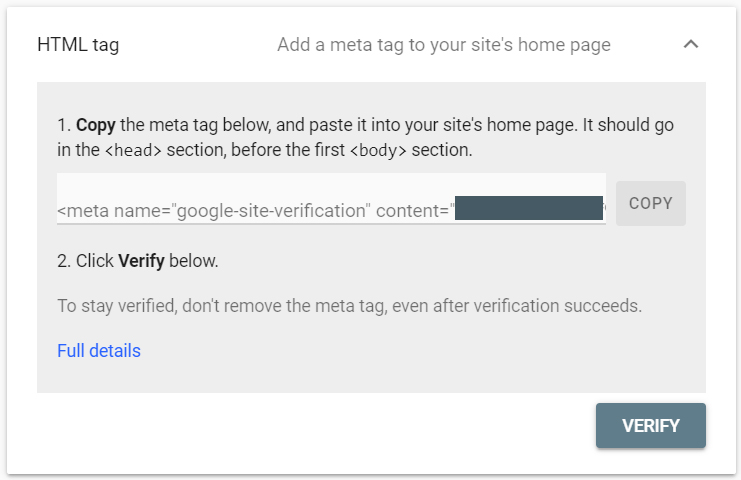
After adding meta tag to your website and click verify.
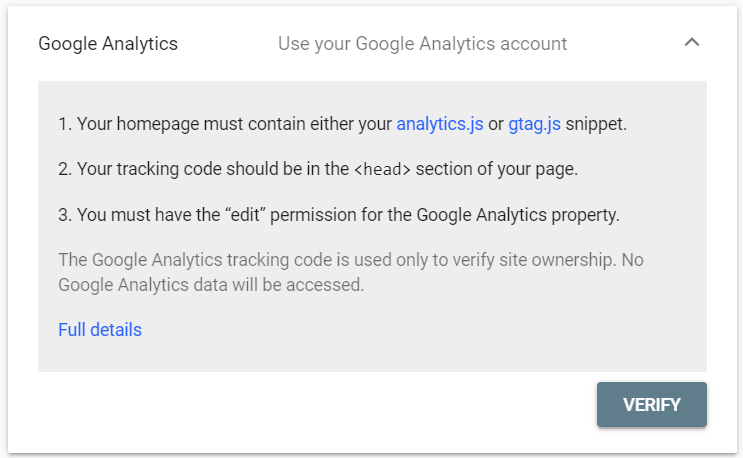
Google Analytics:
If you already added Google Analytics tag on your website with the same Gmail account or you have edit access from another analytics property then select Google Analytics verification method and click verify.
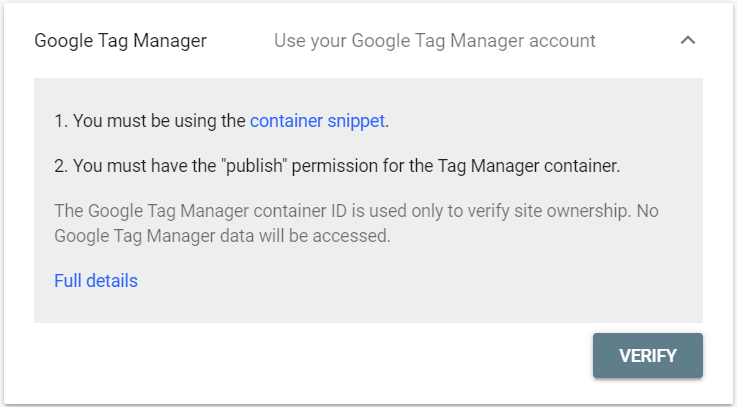
Google Tag Manager:
To verify with Google Tag Manager you need a Google Tag Manager account with same Gmail account if you’re already having Google Tag Manager with the same Gmail account or you have “publish” permission from another Google Tag Manager container then select Google Tag Manager verification method and click verify.
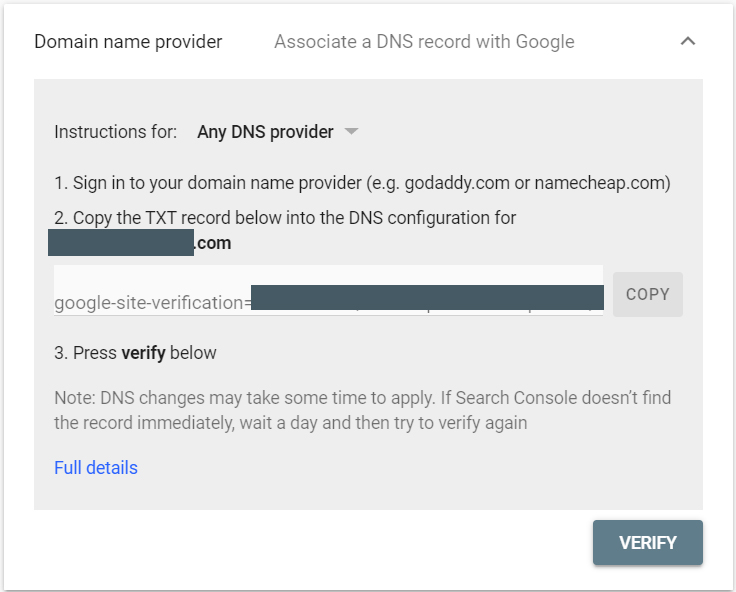
DNS Name Provider:
To verify with DNS verification method login to your domain manager go to DNS section then copy and add the TXT record to your domain and click verify but it takes some time to reflect wait for some time.
Now our website has been verified in this tutorial I have used html file verification method. After successful verification you will see the ownership verified pop-up like the image below.

That’s all we have successfully added our website to Google Search Console or Google Webmasters.
Sitemap:
After adding property to Google search Console then create a sitemap and submit to Google search Console in the sitemap section.
Conclusion:
We have finished Google search Console setup. In this article we have learned how to add our website to Google search Console and how to submit sitemap to Google Search Console. Hope this more helpful.