Google Analytics is a free web and app analytics tool by Google. It is most using popular web analytics tool in the world. It will track and reports website visitors data, also track Google Ads campaign insights and others platforms like Facebook ads, Twitter ads, etc,. In this article we are going to see how to setup and install Google Analytics on website.
Sign up Google Analytics:
First, we need a Gmail account for signing up Google Analytics, if you don’t have a Gmail account, then create one, let’s start to sign up. After the signup process, fill your account name. After entering the account name and click next

After that choose what you want to measure with Google Analytics like Web, Mobile App, or both this tutorial based on web analytics installation, so we can select web and click next

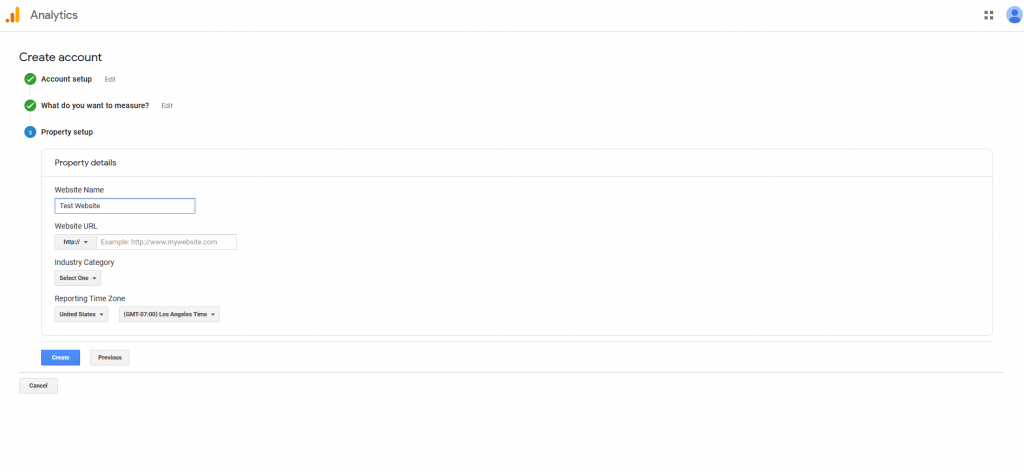
Then setup your property like Website Name, Website URL, Category, and Time Zone and click create
Now we created Google Analytics account for website, and we can see Google Analytics tracking code, next step is how to install Google Analytics on website.
Install on custom website:
To install Google Analytics tracking code on custom website copy the tracking code and paste in to the section of all pages your custom website.
<head>
.................
.................
</head>
Install on WordPress:
For WordPress, we can install Google Analytics with various plugins like Monster Insights, Insert Headers and Footers, etc,. For this tutorial, we can install Google Analytics by insert headers and footers plugin.

Install on Google Tag Manager:
Google Tag Manager installation is the easiest method to deploy Google Analytics on your website. To install Google Analytics with Google Tag Manager, go to the dashboard and add a new tag then rename your tag.

After that, click anywhere on tag configuration and select Google Analytics universal tag.

Next, create a new variable enter your tracking id like the image below.

After that click on trigger select all pages and publish the tag.


Test Google Analytics:
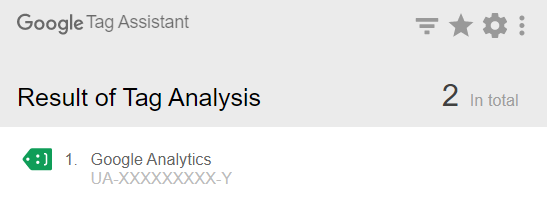
To check Google Analytics is working or not, go to the Chrome web store and install Tag Assistant by Google, next head over to your website then click the Tag Assistant and click enable after that reload your website and check results recorded by Tag Assistant as the image below.
Conclusion:
That’s all. We have installed Google Analytics successfully on our website. Now we can track our website visitor’s data with Google Analytics.